
Building your own terrarium kits
Build your own terrarium kit
Do you have a flair for gardening but lack sufficient space? You can build your terrarium kit instead. It gives you every benefit an actual garden offers without the need to invest in a large soave. And it improves indoor air quality, reduces anxiety, and beautifies your space.
In this post, you'll learn what a terrarium is and how to build DIY terrarium kits from scratch.
What are Terrarium kits?
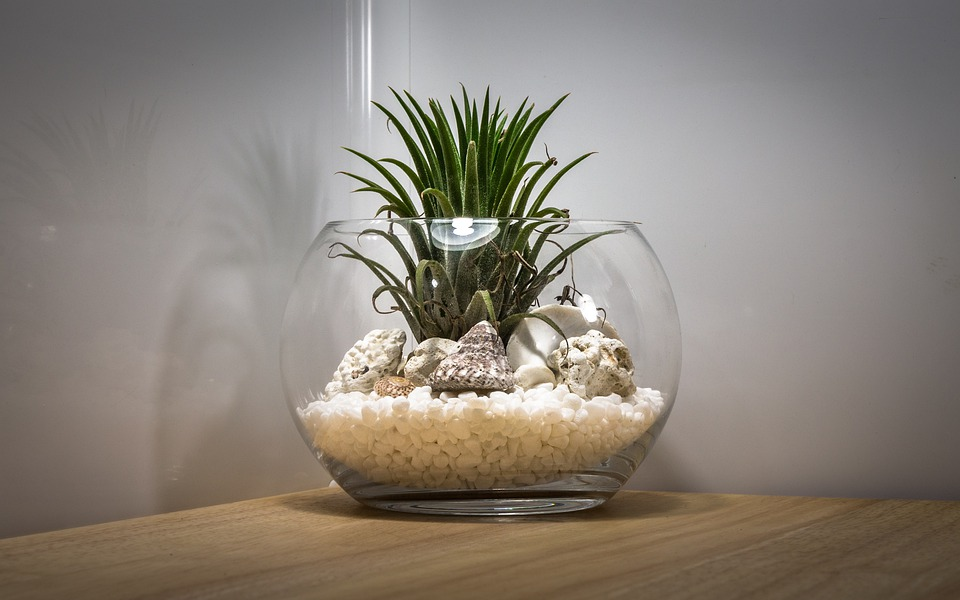
Simply put, a terrarium is a small indoor garden enclosed in a glass container. Although some terrariums are fully closed, most of them are partially open to allow airflow.
A terrarium kit does not only beautify your indoor space, it is a perfect gift to give anyone.
Items needed for a basic Terrarium Kit
With the following items, you can build a perfect DIY terrarium kit.
-
A clear container: This is usually a tall glass container with no drainage holes. It doesn't matter if it has a lid or not.
-
Crushed rocks.
-
Activated charcoal: You can find this in a nursery.
-
Scissors for trilling plant roots.
-
Potting soil: opt for soil that is meant for plant containers.
-
A miniature spade.
-
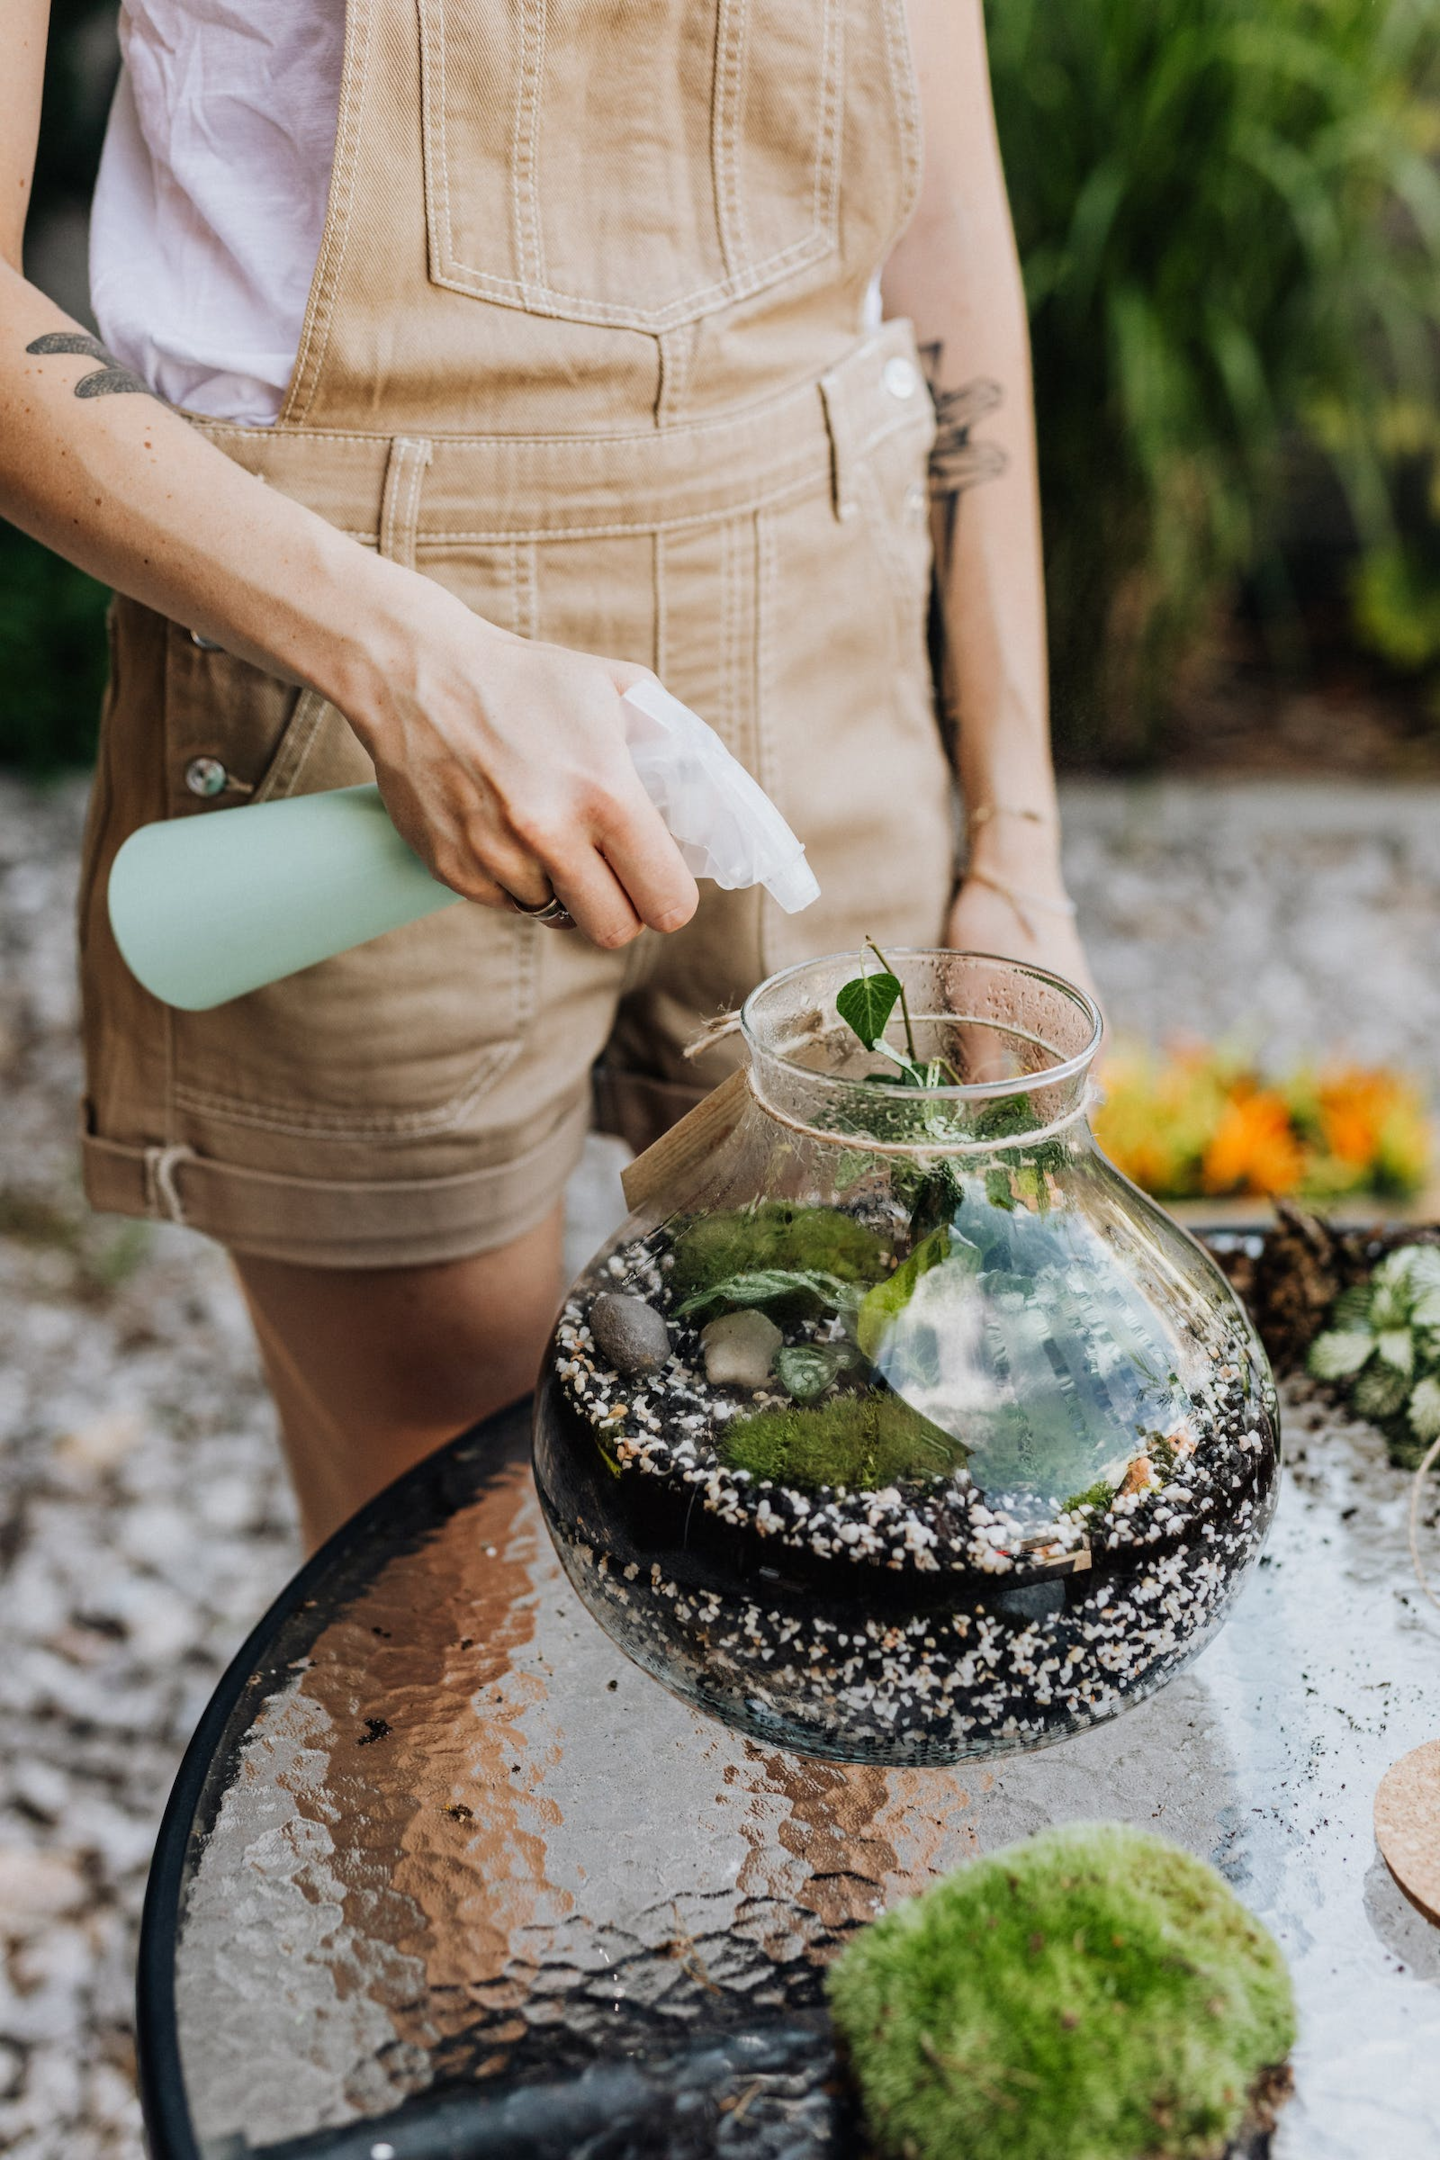
A spray bottle.
-
Plants: Would you be building an enclosed terrarium or an open one? This is what determines the kind of plant to get. A succulent plant can survive almost any condition and are great for beginners. Ferns, small palms, orchids, and other moisture-resistant plants can survive in a closed container.
How to Build DIY Terrarium kits
Here are easy steps to create your DIY terrarium kit.
Step One: Clean the Glass Container
Dirt and chemicals can affect the healthy growth of your plant. To ensure a perfect environment for your plants clean the containers thoroughly.
Step Two: Place the Pebbles and Crushed Rocks
The pebbles and crushed rocks serves as a drainage layer to keep water from the plant roots.
Pour in a 2-inch layer of crushed stone into the container. Taller terrariums require a deeper layer of crushed stones than short ones.
Step Three: Add the Activated Charcoal
Using a small trowel or spoon add a quarter inch to half inch layer of activated charcoal. This eliminates bad odours, and inhibits the grows of fungi and bacteria.
Step Four: Add Sheet Moss and Soil
Add a layer of sheet moss into the container. Then with a small trowel, pour sterile potting soil. The sheet moss prevents the soil from mixing in.
Use a slightly damp potting soil and avoid those already mixed with fertilizer.
The soil level shouldn't be too high so plants can have enough room to grow.
Step Five: Plant
Carefully place the roots into the container with your fingers or a spoon. Add a little more soil around the plant base and compress it. Add more plants, but leave enough room at the edge of container to prevent leaves from touching the sides.
Step Six: Add Accessories to Your Terrarium
This is an optional step. You may add accessories like figurines, clean toys, rocks, sticks, etc.
Step Seven: Find A Suitable Place for It
Finding a perfect place for your terrarium determines how well the plant will thrive. The plant must receive adequate quantity of indirect sunlight. Avoid locations that expose the plant to direct sunlight, rather place the plant near a east-facing window. Also, do not keep it close to an air vent.
How to Maintain your DIY Terrarium Kit
Maintaining a basic terrarium is easy. To start, check your terrarium after some weeks. Add more water if it is too dry, and if its too foggy, open it up for evaporation to take place.
Also, rotate the terrarium a little every week. This ensures all plants gets sufficient light and they do not grow towards one direction.
Note that you may lose a few plants but that's not strange. Simply replace dead plants and watch your terrarium thrive.
Conclusion
You can create a miniature garden without a large space. All you need is a container, crushed stones, activated, moss, and of course the plants. They are easy to maintain, do not cost much, and allows you to experiment with different plant types.